This article represents different ways in which you can go about installing Quantum Information Science Kit (QISKit) on Linux and related distros such as Ubuntu. QISKit is software development kit (SDK) for writing quantum computing experiments, programs, and applications. In this post, you will learn about some of the following topics in relation to installing QISKit on Linux:
- Install QISKit using PIP
- Install QISKit from Github repository
Install QISKit using PIP
You can go about installing QISKit using PIP, a Package manager for installing python libraries. The catch here is the requirement of using Python 3.5. or later. Often, we have python 2.7. setup as a default python alternative for usage. PIP, thus, ends up using Python 2.7. version. Thus, it results in failure of QISKit installation using PIP. One would require setting Python 3.5. to be used. Read the detailed instructions and related concepts on installing QISKit using PIP on this page, How to Install QISKit using PIP.
Install QISKit from Github Repository
Prior to moving ahead with installing QISKit from Github, make sure you have Git installed.
Execute following command in your workspace and change to qiskit-sdk-py directory:
git clone https://github.com/QISKit/qiskit-sdk-py
cd qiskit-sdk-py
Next step is to install some of the following dependencies to work with QISKit as a standalone library:
- IBMQuantumExperience>=1.8.19
- requests>=2.18,<2.19
- networkx>=1.11,<1.12
- ply==3.10
- numpy>=1.13,<1.14
- scipy>=0.19,<0.20
- matplotlib>=2.0,<2.1
- sphinx>=1.6,<1.7
- sympy>=1.0
All of these libraries are mentioned in qiskit-sdk-py/requirements.txt. All you need to install dependencies is execute the following command:
pip install -r requirements.txt
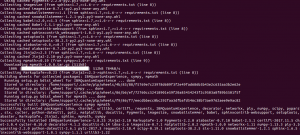
The following screenshot represents the successful installation of QISKit dependencies.
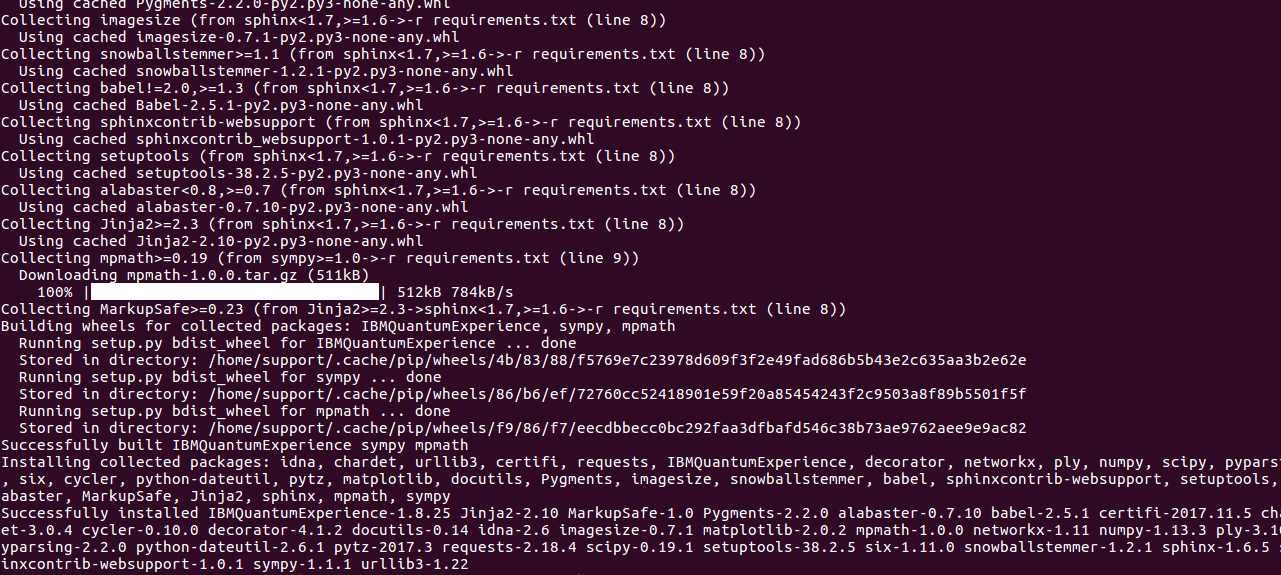
Figure 1. QISKit Dependencies
Next step is to set the PYTHONPATH environment variable to qiskit-sdk-py directory. This would enable you to execute your Quantum program from anywhere. Set the PYTHONPATH variable in .bashrc:
export PYTHONPATH=$PYTHONPATH:/home/support/workspace/qiskit-sdk-py
Open up a new terminal and create a folder in your workspace to start writing your quantum programs. Create your first quantum program such as that given below and save it as qc_helloworld.py.
from qiskit import QuantumProgram
qp = QuantumProgram()
qr = qp.create_quantum_register('qr',2)
cr = qp.create_classical_register('cr',2)
qc = qp.create_circuit('Bell',[qr],[cr])
qc.h(qr[0])
qc.cx(qr[0], qr[1])
qc.measure(qr[0], cr[0])
qc.measure(qr[1], cr[1])
result = qp.execute('Bell')
print(result.get_counts('Bell'))
Execute the program using the following command:
python qc_helloworld.py
It should print something similar to that given below:
{'11': 500, '00': 524}
Further Reading
Summary
In this post, you learned about some of the following:
- Installing QISKit using PIP
- Installing QISKit using Repository
- Executing your first quantum program
Did you find this article useful? Do you have any questions about this article or installing/setting up QISKit? Leave a comment and ask your questions and I shall do my best to address your queries.

Check out my latest book titled as First Principles Thinking: Building winning products using first principles thinking.
- Three Approaches to Creating AI Agents: Code Examples - June 27, 2025
- What is Embodied AI? Explained with Examples - May 11, 2025
- Retrieval Augmented Generation (RAG) & LLM: Examples - February 15, 2025
I found it very helpful. However the differences are not too understandable for me