In this post, you will learn about how to load and predict using pre-trained Resnet model using PyTorch library. Here is arxiv paper on Resnet.
Before getting into the aspect of loading and predicting using Resnet (Residual neural network) using PyTorch, you would want to learn about how to load different pretrained models such as AlexNet, ResNet, DenseNet, GoogLenet, VGG etc. The PyTorch Torchvision projects allows you to load the models. Note that the torchvision package consists of popular datasets, model architectures, and common image transformations for computer vision. Here is the command:
from torchvision import models
dir(models)
The output of above will list down all the pre-trained models available for loading and prediction.
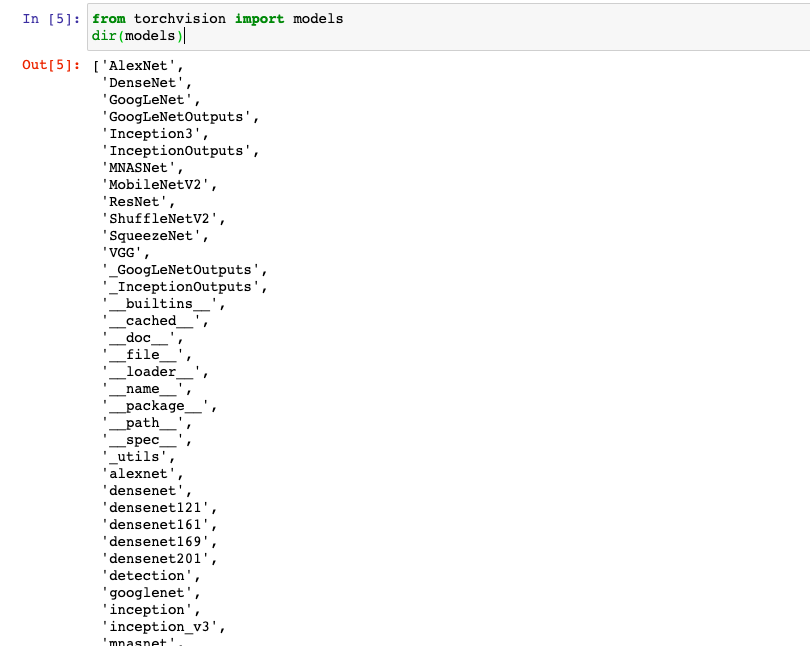
You may note that the list consists of number of Python classes such as AlexNet, ResNet (starting with capital letters) etc and a set of convenience methods related to each Python classes to create the model using different parameters including layers information. The following are convenience functions for loading ResNet models having different number of layers:
- resnet
- resnet101 (101 layers)
- resnet152 (152 layers)
- resnet18 (18 layers)
- resnet34 (34 layers)
- resnet50 (50 layers)
- resnet101_32x8d
- resnet50_32x4d
In this post, you will learn about how to use ResNet with 101 layers. Here are the four steps to loading the pre-trained model and making predictions using same:
- Load the Resnet network
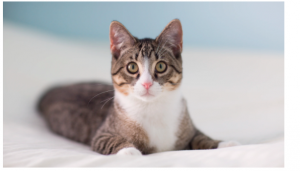
- Load the data (cat image in this post)
- Data preprocessing
- Evaluate and predict
Here is the details of above pipeline steps:
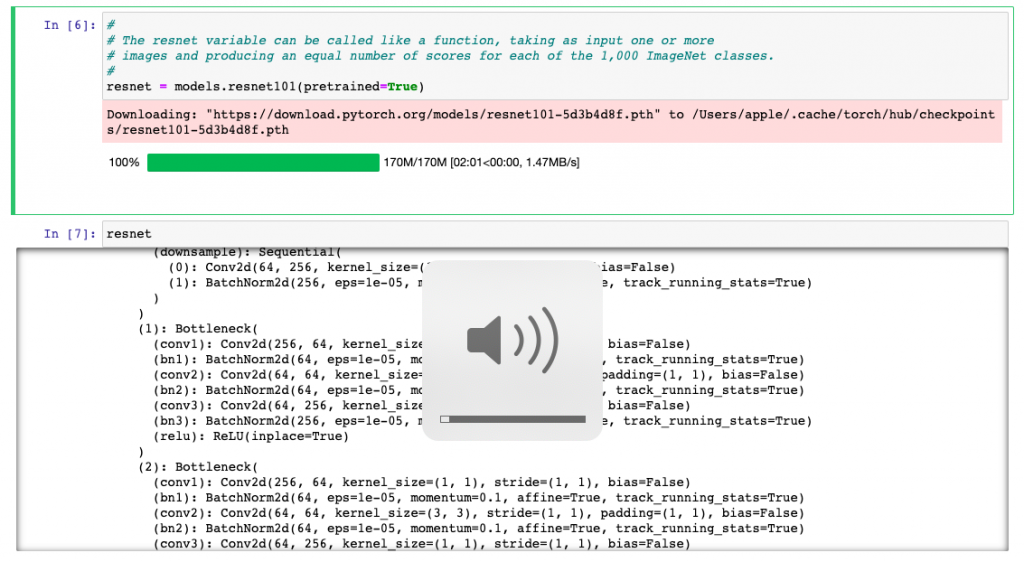
- Load the Pre-trained ResNet network: First and foremost, the ResNet with 101 layers will have to be downloaded. Here is the code for download the ResNet with 101 layers. This does take some time to download. Once downloaded, you could execute “resnet” command to view different modules representing different operations also called as layers in the deep neural network.
#
# Download the resnet-101 layers pre-trained model
#
resnet = models.resnet101(pretrained=True)
#
#
resnet
Here is how the loading ResNet will look like.
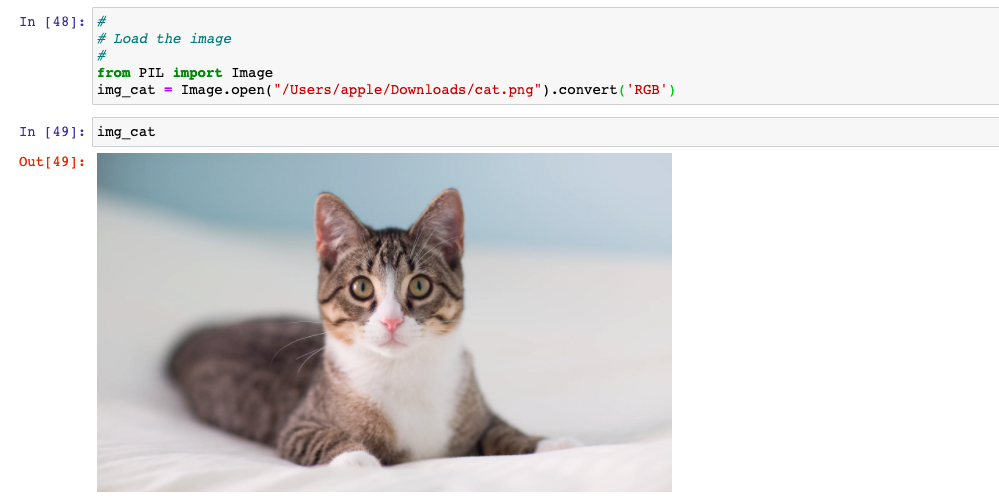
- Data Loading: Once the network is loaded, it is time to predict the image using ResNet 101 layers network. We will load a cat image and try to do the prediction using ResNet 101 layers network. Here is the cat image. Image class of Python PIL library is used to load the image (Image.open). Pay attention to the method call, convert(‘RGB’). If you don’t do it, you will get the error later when trying to transform such as “The size of tensor a (4) must match the size of tensor b (3) at non-singleton dimension 0“. The error occurs because the image has an additional alpha channel per pixel, thus it has 4 channels instead on only three.
#
# Load the image
#
from PIL import Image
img_cat = Image.open("/Users/apple/Downloads/cat.png").convert('RGB')
Now, it is time to do some of the following for making the predictions using ResNet network. Same code can be applied for all kinds of ResNet network including some of the popular pre-trained ResNet models such as resnet-18, resnet-34, resnet-50, resnet-152 networks.
Here is how the pipeline will look like for predicting image type using ResNet model:
- Data Preprocessing: After the image is loaded, it is time to preprocess the image as PyTorch tensors. The transforms function of torchvision is used to define pipeline of basic data preprocessing. The preprocessing steps consists of tasks such as resizing the image, croping the image, transforming the image into tensor and normalizing the image into RGB format. Here is the code for preprocessing:
from torchvision import transforms
#
# Create a preprocessing pipeline
#
preprocess = transforms.Compose([
        transforms.Resize(256),
        transforms.CenterCrop(224),
        transforms.ToTensor(),
        transforms.Normalize(
        mean=[0.485, 0.456, 0.406],
        std=[0.229, 0.224, 0.225]
    )])
#
# Pass the image for preprocessing and the image preprocessed
#
img_cat_preprocessed = preprocess(img_cat)
#
# Reshape, crop, and normalize the input tensor for feeding into network for evaluation
#
batch_img_cat_tensor = torch.unsqueeze(img_cat_preprocessed, 0)
- Model Evaluation and Prediction: Next step is prepare the model for evaluation and pass the image for the prediction. Resnet is required to be put in evaluation model in order to do the prediction. The predictions “out” is a vector of 1000 scores representing the match of given image with 1000 ImageNet classes.
#
# Resnet is required to be put in evaluation mode in order
# to do prediction / evaluation
#
resnet.eval()
#
# Get the predictions of image as scores related to how the loaded image
# matches with 1000 ImageNet classes. The variable, out is a vector of 1000 scores
#
out = resnet(batch_img_cat_tensor)
- Finally, it is time to find out the top 5 classes based on the scores that the input cat image matched. As part of the evaluating the inference, the following is done:
- The file with 1000 ImageNet classes is loaded.
- Index of the best score is found
- Scores in terms of percentage is calculated. Function such as torch.nn.functional.softmax is used.
- Torch.sort method is used to sort the 1000 scores
- Top 5 scores is printed.
#
# Load the file containing the 1,000 labels for the ImageNet dataset classes
#
with open('/Users/apple/Downloads/imagenet_classes.txt') as f:
    labels = [line.strip() for line in f.readlines()]
#
# Find the index (tensor) corresponding to the maximum score in the out tensor.
# Torch.max function can be used to find the information
#
_, index = torch.max(out, 1)
#
# Find the score in terms of percentage by using torch.nn.functional.softmax function
# which normalizes the output to range [0,1] and multiplying by 100
#
percentage = torch.nn.functional.softmax(out, dim=1)[0] * 100
#
# Print the name along with score of the object identified by the model
#
print(labels[index[0]], percentage[index[0]].item())
#
# Print the top 5 scores along with the image label. Sort function is invoked on the torch to sort the scores.
#
_, indices = torch.sort(out, descending=True)
[(labels[idx], percentage[idx].item()) for idx in indices[0][:5]]
Conclusions
Here is what you learned about loading the ResNet pre-trained model using PyTorch and doing the predictions:
- PyTorch Torchvision package is used to import the models
- The imported models represent the classes such as AlexNet, ResNet, GoogLeNet, Densenet etc. One can use command such as dir(models) to get the models information
- Each of the above deep neural networks has different implementations represented using convenience functions.
- ResNet comes up with different implementations such as resnet-101, resnet-152, resnet-18, resnet-34, resnet-50 etc
- Image needs to be preprocessed before passing into resnet model for prediction. TorchVision provides preprocessing class such as transforms for data preprocessing. transforms.preprocess method is used for preprocessing (converting the data into tensor). torch.unsqueeze is used for reshape, cropping, and normalizing the input tensor for feeding into network for evaluation
- Resnet model needs to be prepared ready for evaluation. Method such as resnet.eval() is used for same.

Check out my latest book titled as First Principles Thinking: Building winning products using first principles thinking.
- Questions to Ask When Thinking Like a Product Leader - July 3, 2025
- Three Approaches to Creating AI Agents: Code Examples - June 27, 2025
- What is Embodied AI? Explained with Examples - May 11, 2025
Where did you download the `imagenet_classes.txt` from?