This is a quick post on how to install PyTorch on Anaconda and get started with deep learning projects. As a machine learning enthusiasts, this is the first step in getting started with PyTorch. I followed this steps on Mac Air and got started with PyTorch in no time. Here are the steps:
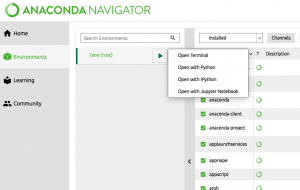
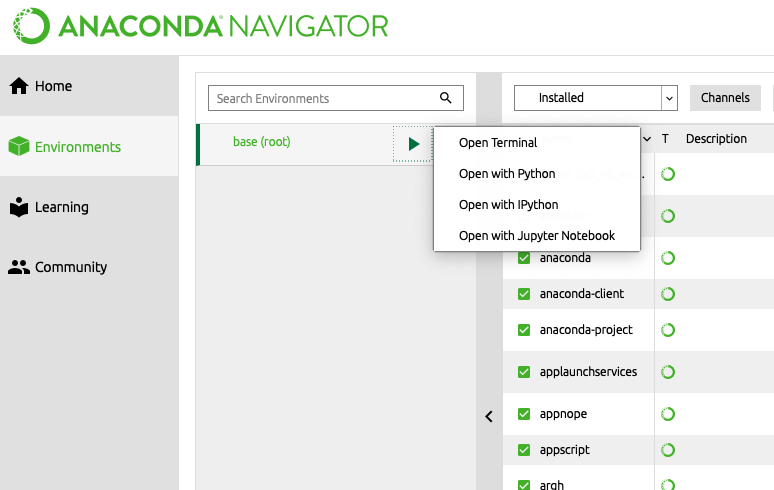
- Go to Anaconda tool. Click on “Environments” in the left navigation.
- Click on arrow marks on “base (root)” as shown in the diagram below. It will open up a small modal window as down. Click open terminal. This will open up a terminal window.
- Execute the following command to set up PyTorch.
conda install pytorch torchvision -c pytorch
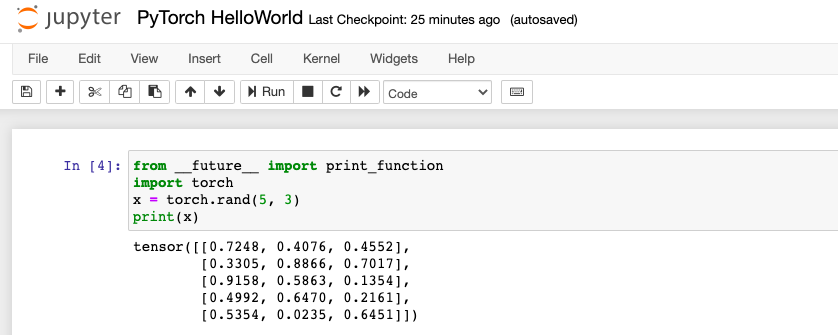
- Once done, go to Jupyter Notebook window and execute the following command:
from __future__ import print_function
import torch
x = torch.rand(5, 3)
print(x)
- You would be able to see the output such as the following:

I have been recently working in the area of Data analytics including Data Science and Machine Learning / Deep Learning. I am also passionate about different technologies including programming languages such as Java/JEE, Javascript, Python, R, Julia, etc, and technologies such as Blockchain, mobile computing, cloud-native technologies, application security, cloud computing platforms, big data, etc. I would love to connect with you on Linkedin.
Check out my latest book titled as First Principles Thinking: Building winning products using first principles thinking.
Check out my latest book titled as First Principles Thinking: Building winning products using first principles thinking.
Latest posts by Ajitesh Kumar (see all)
- Three Approaches to Creating AI Agents: Code Examples - June 27, 2025
- What is Embodied AI? Explained with Examples - May 11, 2025
- Retrieval Augmented Generation (RAG) & LLM: Examples - February 15, 2025
I found it very helpful. However the differences are not too understandable for me