Steps to get started with Spring Boot Web Application
- Go to Help > Eclipse Marketplace… and search type “spring sts” in Find text field under Search tab. Install the entry with the title such as “Spring Tool Suite (STS) for Eclipse
Release”. 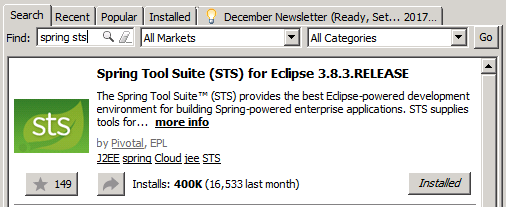
Download Spring STS from Eclipse Marketplace
Once installed, you would be asked to restart the Eclipse. Go ahead and restart the eclipse.
- Open the new Project selector window using shortcut, CTRL + N. Type “Spring Starter” and double-click the entry namely, “Spring Starter Project”. It would take you to next window such as following. Just click “Next” and move to next step.
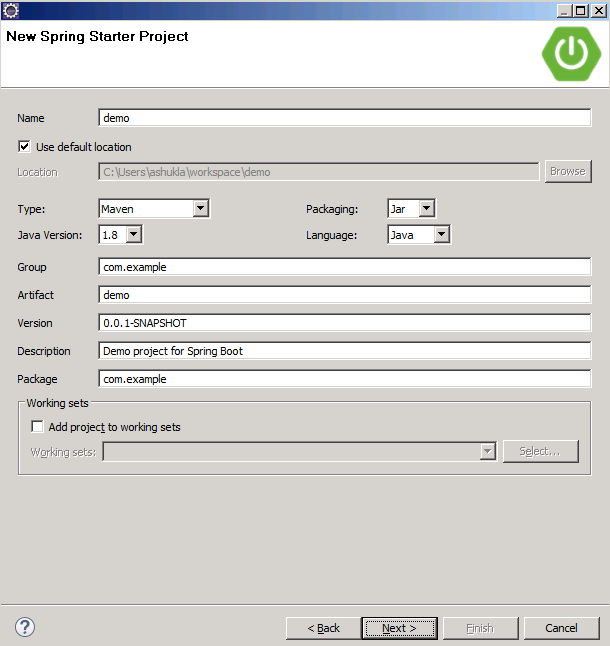
Spring Starter Project Creation Dialog Box
- On next window, select the dependencies as “Web” as shown in the diagram below.
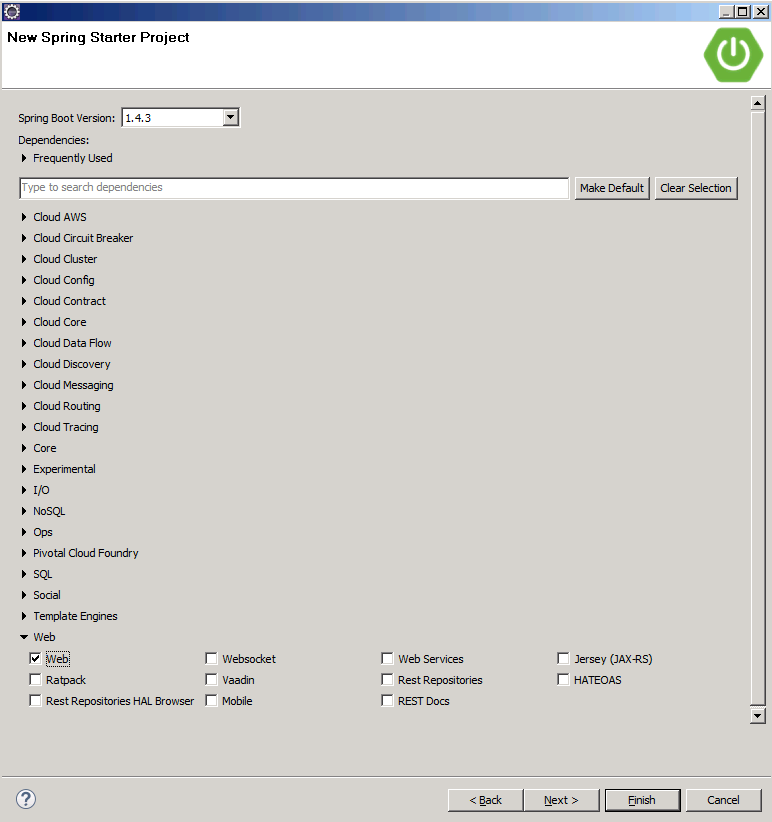
Spring Starter Project Creation Dialog Box – Configuration
Click Finish. This would create the project whose source code and config files/libraries structure would look following. Note the DemoApplication.java file which gets created by default.

Spring Starter Project Source Code Structure
- Right-click on the project as shown below and start the Spring Boot app.
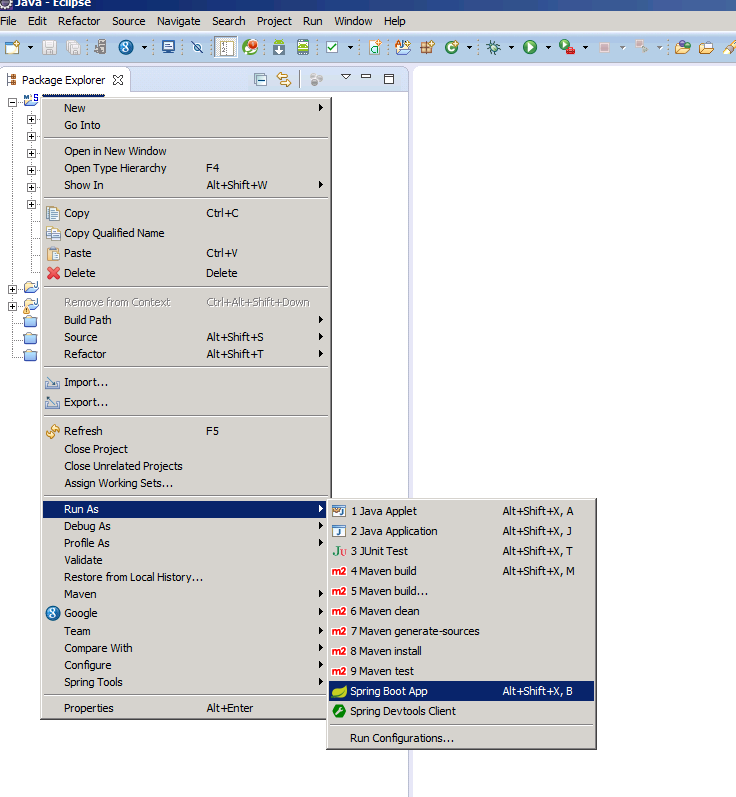
Spring Starter Project Run as Spring Boot App
Once the web app starts, access the web app in browser using URL such as http://localhost:8080/
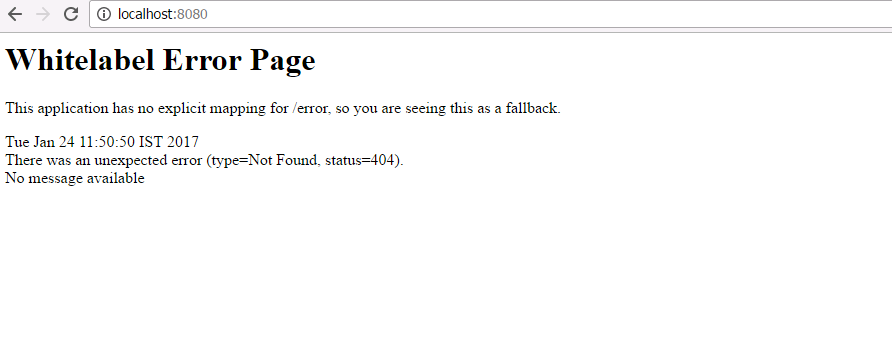
Access Spring Boot App From Browser
- Tweak the DemoApplication code a little to start working with the Web App.
package com.example;

import org.springframework.boot.SpringApplication;
import org.springframework.boot.autoconfigure.SpringBootApplication;
import org.springframework.stereotype.Controller;
import org.springframework.web.bind.annotation.RequestMapping;
import org.springframework.web.bind.annotation.ResponseBody;

@Controller
@SpringBootApplication
public class DemoApplication {

	@RequestMapping("/")
	@ResponseBody
    String home() {
        return "Hello World. How are you?";
    }

	public static void main(String[] args) {
		SpringApplication.run(DemoApplication.class, args);
	}
}
The same code could be found on the Spring Boot homepage. Relaunch the web app and see the changes like following by access the http://localhost:8080 in the browser.
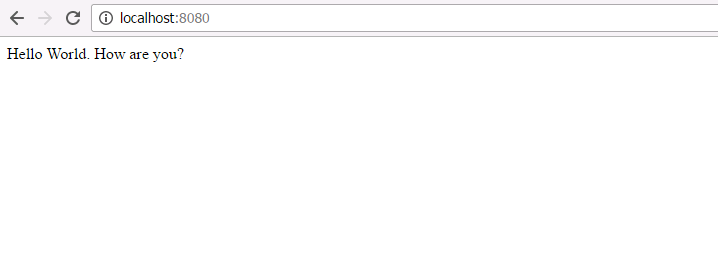
Spring Starter Project Run as Spring Boot App – Hello World
- The Watermelon Effect: When Green Metrics Lie - January 25, 2026
- Coefficient of Variation in Regression Modelling: Example - November 9, 2025
- Chunking Strategies for RAG with Examples - November 2, 2025

Thank you! Very simple)