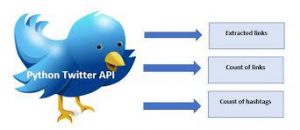
In this post, you will learn about how to get started with mining Twitter data. This will be very helpful if you would like to build machine learning models based on NLP techniques. The Python source code used in this post is worked out using Jupyter notebook. The following are key aspects of getting started with Python Twitter APIs.
- Set up Twitter dev app and Python Twitter package
- Establish connection with Twitter
- Twitter API example – location-based trends, user timeline, etc
- Search twitter by hashtags
Setup Twitter Dev App & Python Twitter Package
In this section, you will learn about the following two key aspects before you get started with the development for Twitter data mining:
- Creating Twitter Dev app
- Installing Python Twitter package
Creating Twitter Dev App
First and foremost, get set up with Twitter developer app. In order to get set up, you will have to do the following:
- Open a Twitter account
- Apply for a developer account, https://developer.twitter.com/en/apply-for-access
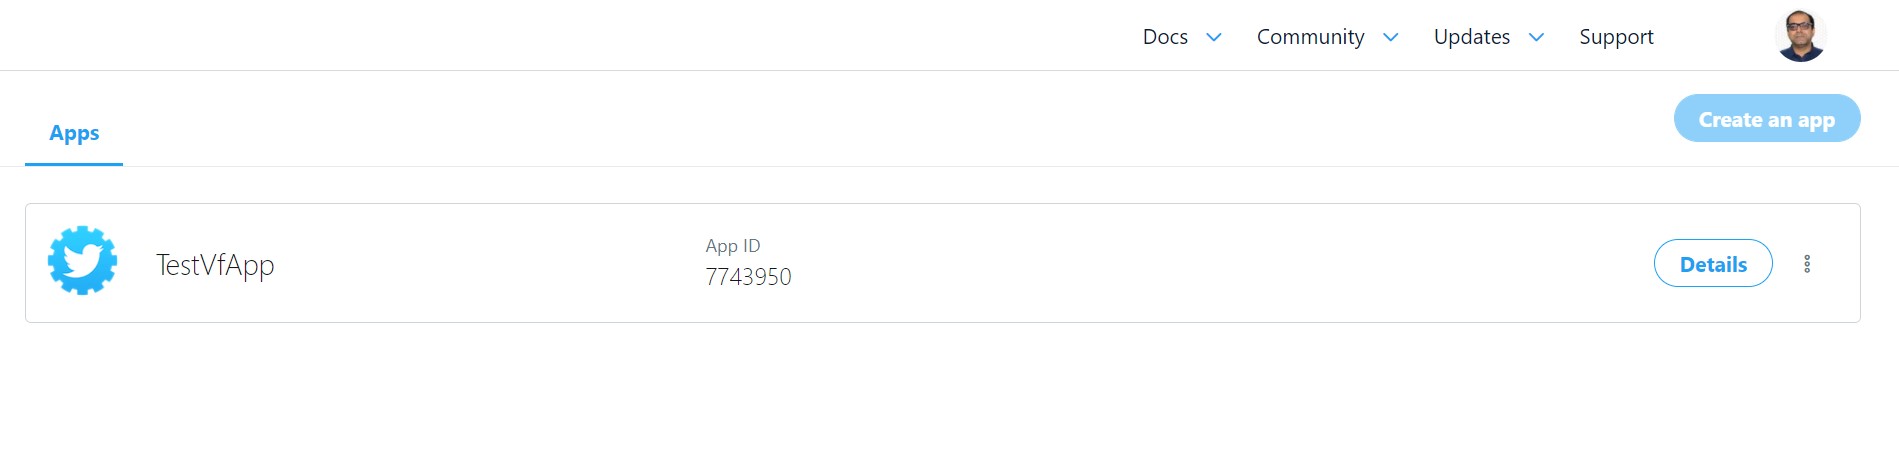
- Create your app by going to the apps page, https://developer.twitter.com/en/apps. You will be asked to enter certain details along with verifying your app request.
- Once verified, get access to the app dashboard page by clicking on the app as shown in the following diagram.
- Go to the Twitter app page and get access to your keys and tokens as shown in the following diagram.
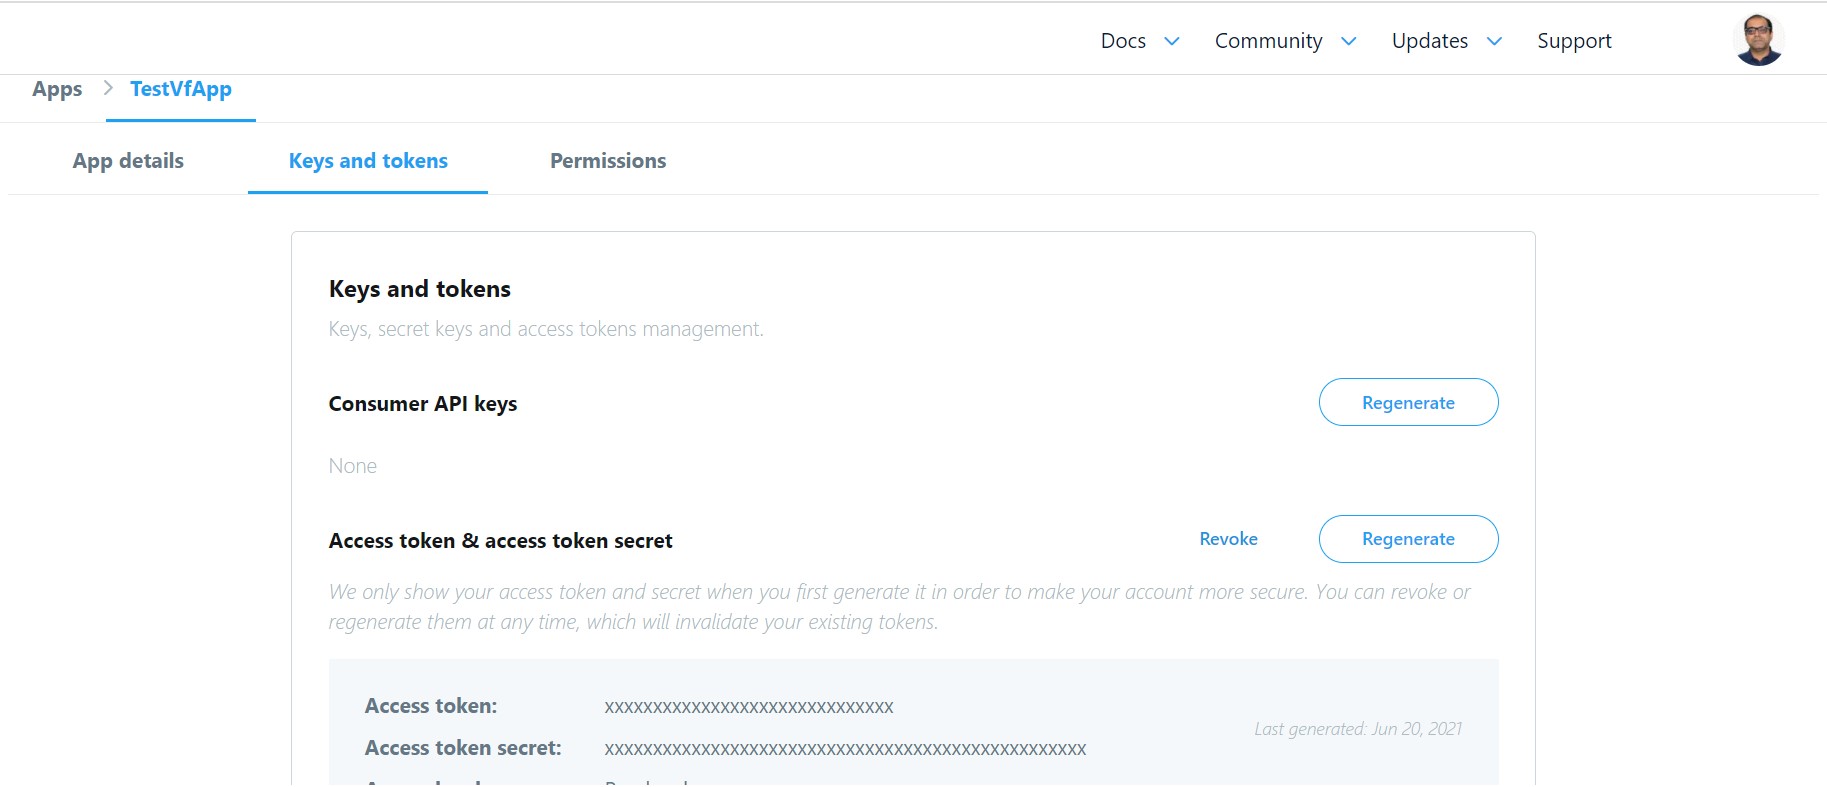
- Copy your access keys (API key and API secret key) and tokens (access token and access token secret). This will be used in your Python code to establish a connection with Twitter.
Install Python Twitter Package
In order to get set up with Python twitter package, install the following command in your Jupyter notebook cell.
!pip install twitter
Once installed, execute the following command in another cell to ensure the installation.
import twitter

twitter?
The above will print the help documentation of the twitter package. You can read details about Twitter APIs on Twitter API documentation page.
Establish Connection with Twitter
Once you are set up, the next step is to establish a successful connection with Twitter in order to access Twitter APIs to extract content. Here is the code.
import twitter

# These are dummy keys
#
CONSUMER_KEY = 'fabcCMBqAABB43XSEjyMNEFGO'
CONSUMER_SECRET = 'gpIMAbCdSsAAKKtApABCDEZJnvz12erfr9rANcrTGV5af4gfGv'
OAUTH_ACCESS_TOKEN = '1234567897-qNAbCiVABCDERQ5CIjxxfs67lJfEWBQGJO'
OAUTH_ACCESS_TOKEN_SECRET = 'jOneIJFEFGHWaCfu4vzmtABCDDwPmnopqVGRad5GHJTbgF'

auth = twitter.oauth.OAuth(OAUTH_ACCESS_TOKEN, OAUTH_ACCESS_TOKEN_SECRET,
                           CONSUMER_KEY, CONSUMER_SECRET)

twitter_api = twitter.Twitter(auth=auth)

# Nothing to see by displaying twitter_api except that it's now a
# defined variable
print(twitter_api)
The above prints something like following which indicates that you’ve successfully used OAuth credentials to gain authorization to query Twitter’s API.
<twitter.api.Twitter object at 0x0000028B9FF162E8>
Twitter API Example – Location-based trends, User timelines
In this section, you will see the example of Twitter API usage in relation to getting location based trends and user timelines. You can get an access to Twitter APIs in Twitter API docs.
import json

# Get access to Where on Earth (WoE) Ids on this
# page, https://codebeautify.org/jsonviewer/f83352

INDIA_WOE_ID = 2282863

# Prefix ID with the underscore for query string parameterization.
# Without the underscore, the twitter package appends the ID value
# to the URL itself as a special case keyword argument.
# The following print location based trends

india_trends = twitter_api.trends.place(_id=INDIA_WOE_ID)
print(json.dumps(india_trends, indent=1))

# The following prints user timelines.
# The screen_name parameter is passed the user handle

twitter_api.statuses.user_timeline(screen_name="vitalflux")
Search Twitter Hashtags
One of the popular implementations can be searching Twitter for recent popular tweets based on retweet count based on hashtags. Here is the code which searches Twitter for hashtag deeplearning (#deeplearning).
#
# Search Twitter for hashtag, #deeplearning
#
tweets = twitter_api.search.tweets(q="#deeplearning", max_results=200)
#
# Print the tweets
#
RETWEET_COUNT_THRESHOLD = 25

for status in tweets['statuses']:
  if status['retweet_count'] > RETWEET_COUNT_THRESHOLD:
    print('\n\n', status['user']['screen_name'], ":", status['text'], '\nTweet URL: ', status['retweeted_status']['entities']['urls'][0]['expanded_url'],
          '\nRetweet count: ', status['retweet_count'])
Pay attention to some of the following aspects in the above code:
- API search.tweets is used with parameter q used for specifying hashtag and parameter max_results to get maximum number of results. If max_results is not specified, it is set to 10 as default.
- The following is printed to get the tweets detail for tweets having retweet count greater than the constant, RETWEET_COUNT_THRESHOLD as 25. You could set this to any number to filter tweets which have maximum retweets
- User screen name
- Tweet text
- Tweet URL (expanded or actual URL)
- Retweet count

Check out my latest book titled as First Principles Thinking: Building winning products using first principles thinking.
- Mathematics Topics for Machine Learning Beginners - July 6, 2025
- Questions to Ask When Thinking Like a Product Leader - July 3, 2025
- Three Approaches to Creating AI Agents: Code Examples - June 27, 2025
Hello there
I am currently preparing for an exam in data mining by working through the exercises. Now, I replicated your code, except with a few changes, I imported the keys from a config file as I find it more convenient to import my keys from it instead of re-writing them each time. I also changed the woeid to the US ID as we are asked to request the trends from the US.
Now I get an 403 HTTP error hinting towards that I am not having the power to execute this request. I don’t know if this has to do with twitters update to the 2.0 API?