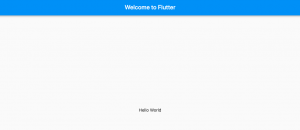
In this post, we will look at quick code samples and related concepts for getting started with Flutter Hello World App.
I think the best way to get quickly started without getting bothered about creating Android/iOS simulator or devices is to enable Flutter web app. One can follow instructions in this page related to Flutter web app commands cheat sheet to get started with Flutter web app.
Here is the code for Flutter Hello World app. Place this code (replace with existing code created using template project) in lib/main.dart file to get started.
import 'package:flutter/material.dart';

void main() {
  runApp(MyApp());
}

class MyApp extends StatelessWidget {
  @override
  Widget build(BuildContext context) {
    return Center(
        child: Text(
          'Hello World',
          textDirection: TextDirection.ltr,
        )
    );
  }
}
Once done, execute the project using command such as following or run from the Android IDE.
flutter run -d chrome
Basic Concepts for Understanding Flutter
The following points form the most fundamental concepts to learn when getting started building Flutter Hello World app:
- main.dart: Flutter app starts in main.dart file found in lib folder.
- main() function: In main.dart file, the function called by the framework to launch the Flutter app is void main() {}. The code looks like the following:
void main() {
}
- runApp() function: The main function calls runApp function which creates a tree of widgets with a root widget. The runApp() function takes the given Widget and makes it the root of the widget tree. In this example, the widget tree consists of two widgets, the Center widget and its child, the Text widget. The framework forces the root widget to cover the screen, which means the text “Hello, world” ends up centered on screen.
void main() {
    runApp(MyApp());
}
- Root Widget & Widget Tree: Next step is to create a widget tree with root widget. In the above code, root widget is an instance of StatelessWidget which is a Center widget which further creates a Text widget with a text and direction of the text. In case you don’t provide a direction for the text, one gets the exception as No Directionality widget found. RichText widgets require a Directionality widget ancestor.
class MyApp extends StatelessWidget {
  @override
  Widget build(BuildContext context) {
    return Center(
        child: Text(
          'Hello World',
          textDirection: TextDirection.ltr,
        )
    );
  }
}
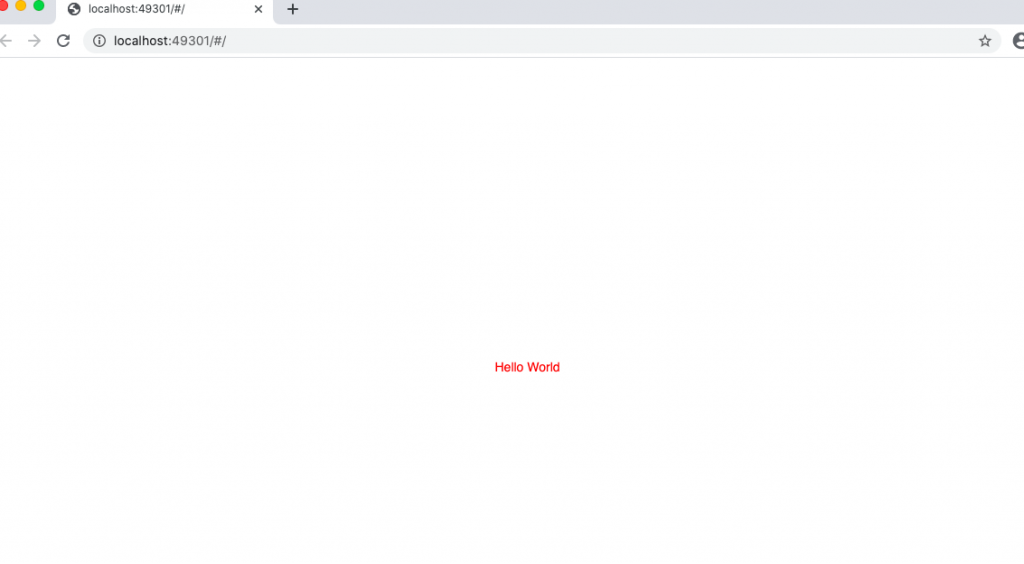
The above code results in the app such as the following, as displayed in the Chrome browser

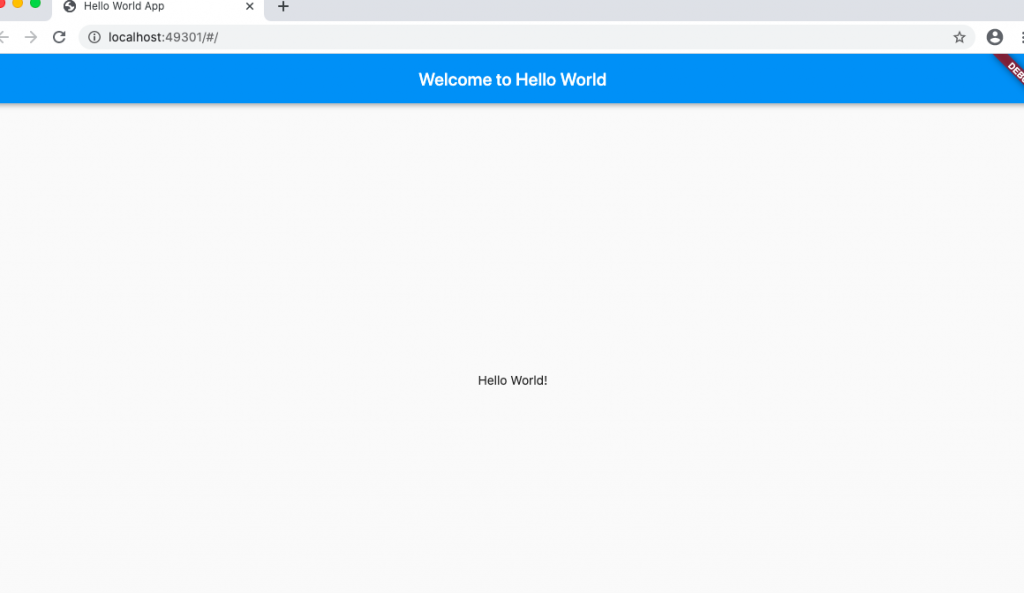
The code below represents a Hello World app built with MaterialApp widget as root widget. In the above example, the app was built with Center widget as root widget.
class MyApp extends StatelessWidget {
  @override
  Widget build(BuildContext context) {
    return MaterialApp(
      title: 'Hello World App',
      home: Scaffold(
        appBar: AppBar(
          title: Text('Welcome to Hello World'),
        ),
        body: Center(
          child: Text(
            'Hello World!',
            textDirection: TextDirection.ltr,
          )
        ),
      )
    );
  }
}
Here are the key concepts to note:
- MaterialApp is the root widget in the widget tree
- MaterialApp child widget is Scaffold which has another two child widgets such as AppBar and Body as Center widget.
Here is how the app looks like:

- The Watermelon Effect: When Green Metrics Lie - January 25, 2026
- Coefficient of Variation in Regression Modelling: Example - November 9, 2025
- Chunking Strategies for RAG with Examples - November 2, 2025

I found it very helpful. However the differences are not too understandable for me