This article represents steps required to quickly get up and running with Sonar and keep it handy for your personal Java/.NET/PHP etc related projects. Please feel free to comment/suggest if I missed to mention one or more important points. Also, sorry for the typos.
Following are the key points described later in this article:
- Sonar setup instructions
- Configure HelloWorld Project for Code Analysis
Sonar setup instructions
Following are two key aspects of getting Sonar and dependencies installed, configured and setup for usage.
- Installation of SonarQube
- Installation of Code Analyzer
Installation of SonarQube
Following is instruction-set to get setup with SonarQube:
- Go to Sonar community edition page and download.
- Unzip the downloaded file
- Go to <install_directory>/bin folder. You would find different folders related with OS platforms. As I have 64 bit Win system, I further went inside “windows-x86-64” folder.
- You shall find different shell scripts files. For my win platform, I found different *.bat file such as InstallNTService.bat, StartNTService.bat, StartSonar.bat etc.
- Copy the path of this folder which may look like S<install_director>/bin/Windows-x86-64 (in case of my laptop), and append it to “Path” environment variable.
- Open a command prompt, type “StartSonar” command and execute. This would start a web server at default port of 9000.
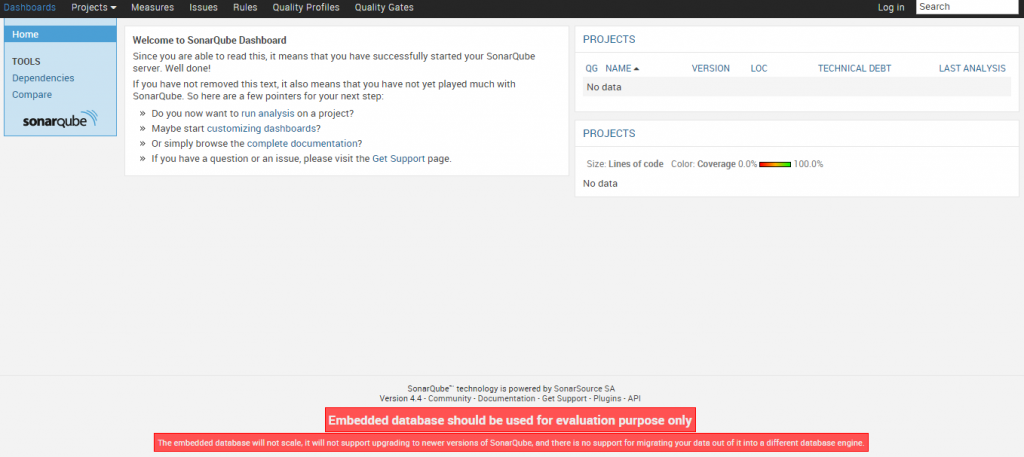
- Open a web browser and access the page, http://localhost:9000. You shall see the page such as that shown in the screenshot below. This means that you have been able to successfully start your SonarQube server. Job, well done! Lets move further to analyze out HelloWorld project. I coded a HelloWorld Java project using Eclipse IDE.

- Sonar comes with an embedded H2 database, by default. For quick setup and testing purpose, you may live with embedded database. However, for production and real usage, one may want to use production-read databases such as MySQL, Oracle etc. For configuration instructions, edit <install_directory>/conf/sonar.properties to configure the database settings. Templates are available for every supported database. Just uncomment and configure the template you need and comment out the lines dedicated to H2 database.
Installation of Code Analyzer
Following is instruction-set to get setup with Code Analyzer (SonarQube Runner). The SonarQube Runner is recommended as the default launcher to analyze a project with SonarQube.
- Goto Installing & configuring Sonar Runner page and download the sonar-runner-dist-versionno.zip file
- Unzip the file to appropriate location
- Setup the SONAR_RUNNER_HOME environment variable and assign it to SonarRunner installation directory
- Add the <sonarrunner_install_directory>/bin directory to your path.
- Check the basic installation by opening a new shell and executing the command sonar-runner -h (on Windows platform the command is sonar-runner.bat -h).
- If above get executed, you are all set to analyze your first project with SonarQube runner.
Analysis of HelloWorld Java Project
- Create a configuration file in the root directory of the project, namely, sonar-project.properties
- You may choose to copy and paste the code given on this page, Analyzing with SonarQube Runner, in sonar-project.properties file. For setup purpose, just change the value of sonar.projectName to the project name you created.
- Open a command prompt, and go to project root folder.
- Execute “sonar-runner” command to run the analysis. You would see the analysis run.
- Goto the browser and access the page, http://localhost:9000
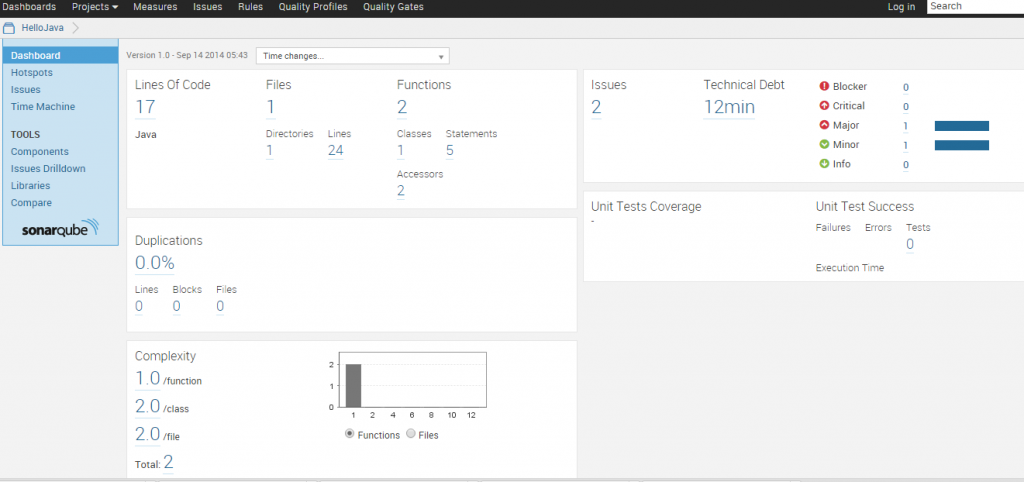
- You would find your project listed under “PROJECTS”. Click on your project listing and you would land up on the project dashboard.

- That is it!
Latest posts by Ajitesh Kumar (see all)
- The Watermelon Effect: When Green Metrics Lie - January 25, 2026
- Coefficient of Variation in Regression Modelling: Example - November 9, 2025
- Chunking Strategies for RAG with Examples - November 2, 2025

I found it very helpful. However the differences are not too understandable for me