Follow the steps given on following pages to install and configure SonarQube in your Eclipse IDE.
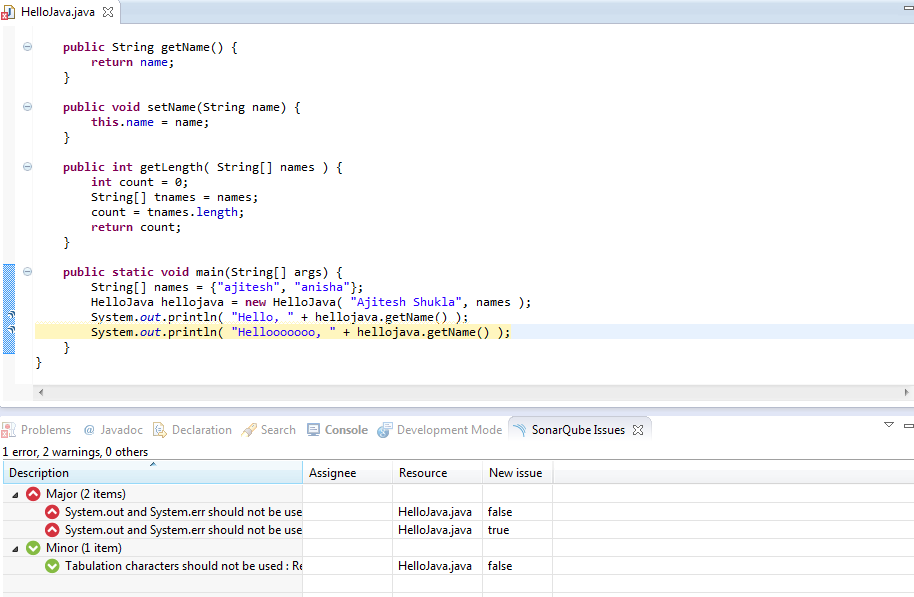
Once you are done with installation and configuration of SonarQUbe server in Eclipse IDE, for code analysis, all you need is right click on your project and click SonarQube > Analyze and that is it. The violations would appear in SonarQube analysis as shown in the screenshot below.
However, do note that these issues may not appear if you try to access on the browser. For that to happen, you need to once again run “sonar-runner” from the project root.
We’ve all been in that meeting. The dashboard on the boardroom screen is a sea…
When building a regression model or performing regression analysis to predict a target variable, understanding…
If you've built a "Naive" RAG pipeline, you've probably hit a wall. You've indexed your…
If you're starting with large language models, you must have heard of RAG (Retrieval-Augmented Generation).…
If you've spent any time with Python, you've likely heard the term "Pythonic." It refers…
Large language models (LLMs) have fundamentally transformed our digital landscape, powering everything from chatbots and…